Table of Contents
MIPAV Generatefusion
MIPAV is a framework not unlike Fiji, and the generatefusion plugin was developed in collaboration with the Shroff lab. It does intensity-based registration and joint deconvolution. You can download MIPAV at http://mipav.cit.nih.gov/ and then install the plugin. As of early 2019 this is still the cannonical workflow for some groups, though the Shroff lab has been developing a successor software.
In general the MIPAV software is much slower and more computationally intensive that Fiji MVR. However, it uses image-based registration so it can register datasets without distinct interest points. (Image-based registration is in the future plans for MVR per this thread but it is not implemented as of Aug 2018).
MIPAV generatefusion is referenced in the 2014 Nature Protocols paper, though some things have changed since. This is the place to look for updated information.
Tutorial
Credit Ryan Christensen as the original author of this tutorial, which can be found in its original form in this PDF.
diSPIM image processing involves several steps, including background subtraction, cropping, transformation, fusion, and deconvolution. The first two steps in this process, background subtraction and cropping, are carried out in ImageJ or FIJI, while the remaining steps are carried out in MIPAV.
You can find sample data for this tutorial, already background-subtracted (-90 Y axis rotation). There is also a bead dataset of unknown origin that can be used to test your MIPAV workflow.
File Organization
Before describing the image processing, a couple notes on file naming and organization are in order. These apply to MIPAV only. Instead of using image metadata, MIPAV uses the file naming and user-input parameters to figure out where each image belongs in the overall experiment.
diSPIM images are originally written as image sequences (with each volume being equivalent to one image sequence). Image sequences are saved in individual folders, and need to be converted into a single .tiff stack for MIPAV to be able to read them. Typically we use bgX (where X is a number) to name the folder containing the background image sequence, and bvX (where X is a number) to name the folders containing the actually data.
The image sequences for each SPIM arm get their own separate folder. The naming of the SPIM arm folders depends on whether you are using Micro-Manager or Labview. For Labview-based systems, when facing the diSPIM the right-side camera is called SPIMB, and writes to a folder we name SPIMB_unprocessed, while the left. Micromanager uses an opposite camera naming system, so the right-side camera is named SPIMA and writes to a SPIMA_unprocessed folder, while the left-side camera is named SPIMB and writes to a SPIMB_unprocessed folder. Keep track of which naming system you are using as this can affect the rotations done in MIPAV. (This convention can be changed in Micro-manager without too much difficulty, ask the developers ![]() ).
).
The SPIMA_unprocessed and SPIMB_unprocessed folders are used to contain individual image sequence folders. So the file path for an image sequence before processing is usually SPIMA_unprocessed/SPIMB_unprocessed → bvX → individual image files.
Processed images are saved in SPIMA and SPIMB folders. MIPAV assumes the input images are stored in folders named SPIMA and SPIMB, so it’s easiest to just use the conventional naming formula when saving the processed images.
If you use the Micro-manager plugin to acquire your datasets, you can use the plugin to export the dataset in the way that MIPAV expects it. However, it is strongly recommended that you preserve the Micro-manager datasets because they contain metadata that can help reconstruct your experiment. You should always keep a copy of the as-acquired data in case you need to re-do any post-processing step, and exporting from Micro-manager dataset to MIPAV input format is the first such step.
Image preparation in ImageJ/FIJI
- Open ImageJ.
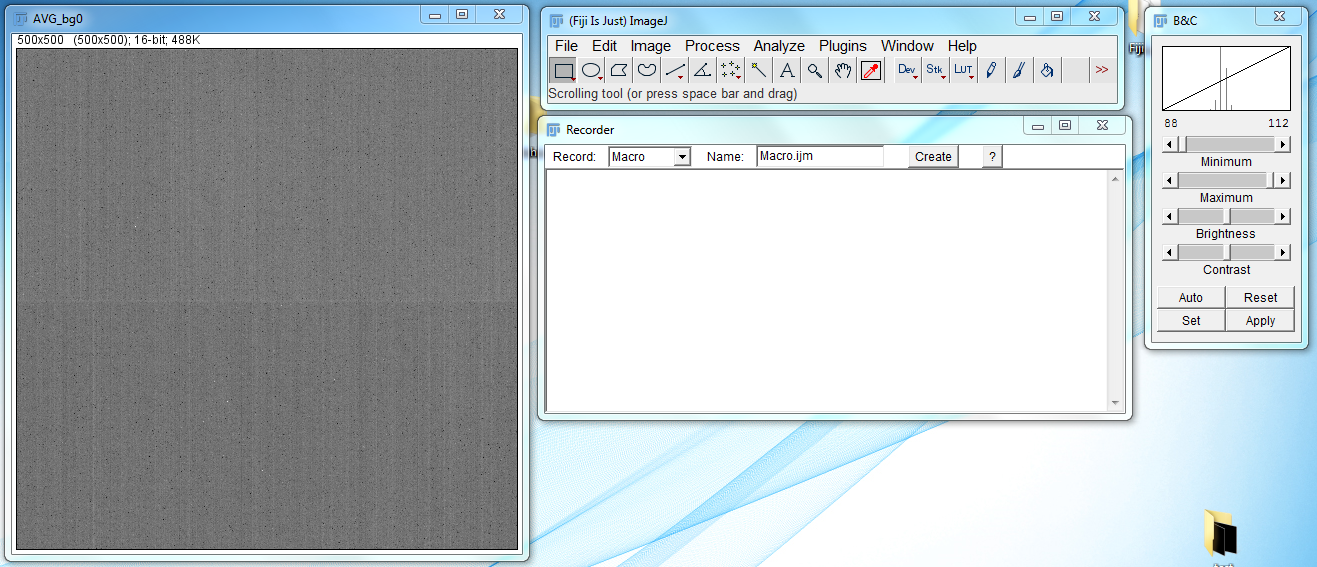
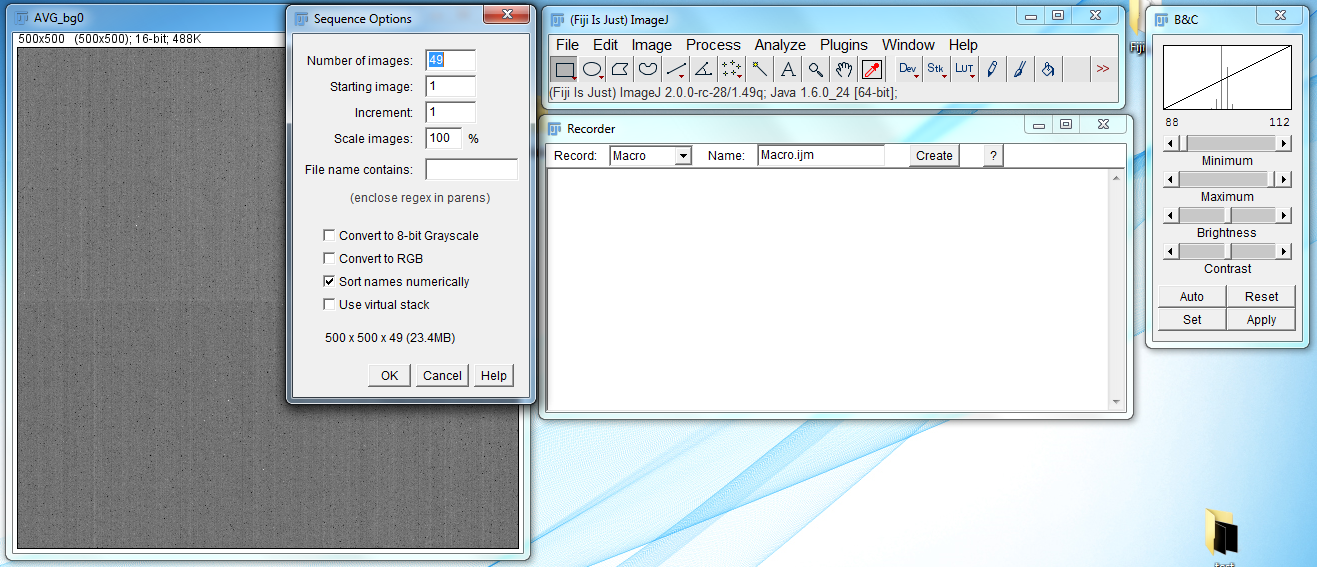
- Import the background image. Go to File → Import → Image Sequence, navigate to the folder where the background image sequence is stored, and import it. The settings for the import image sequence dialog box are as follows:
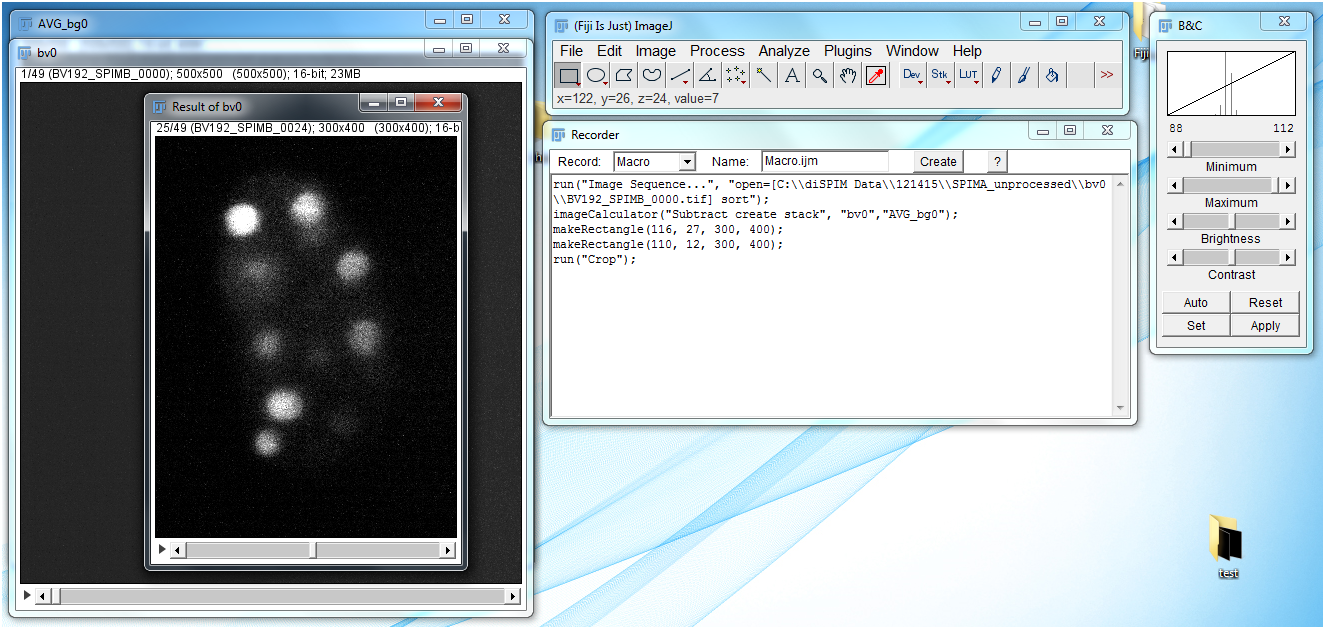
- Go to Image → Stacks → Z Project and set Projection type to Average intensity. Click on the OK button. Then close the original bg0 window, leaving only AVG_bg0.
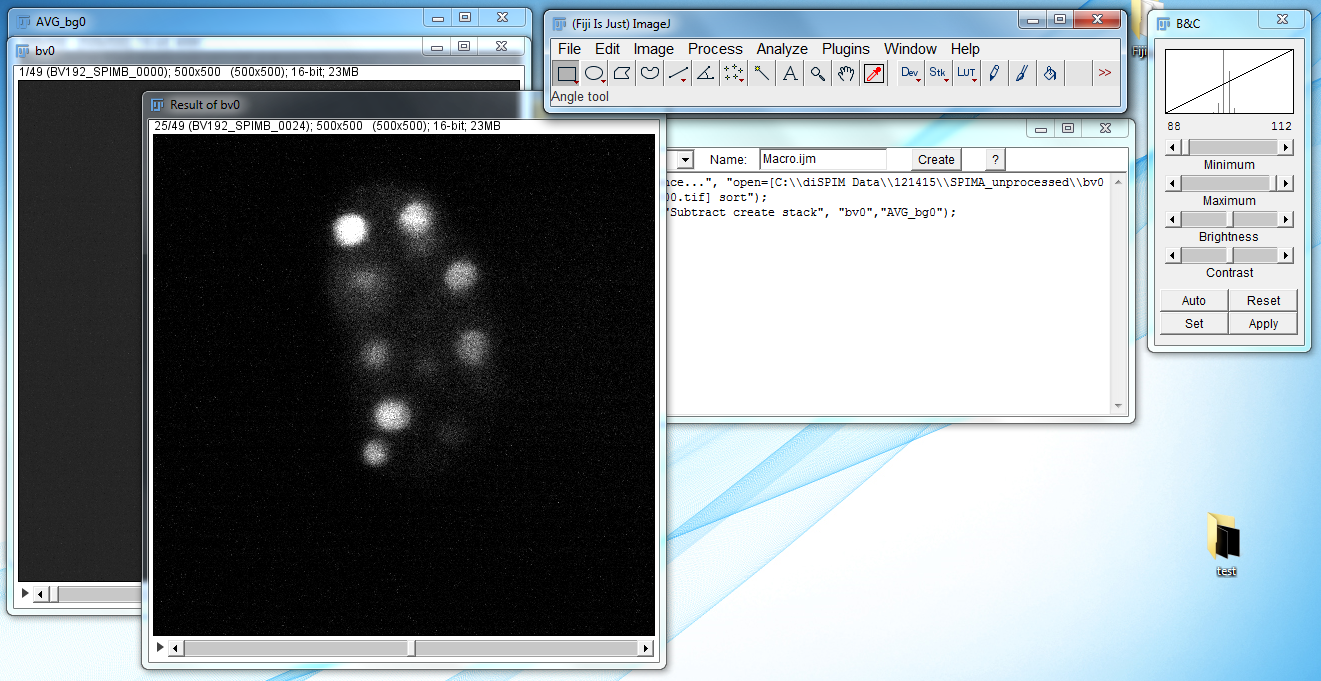
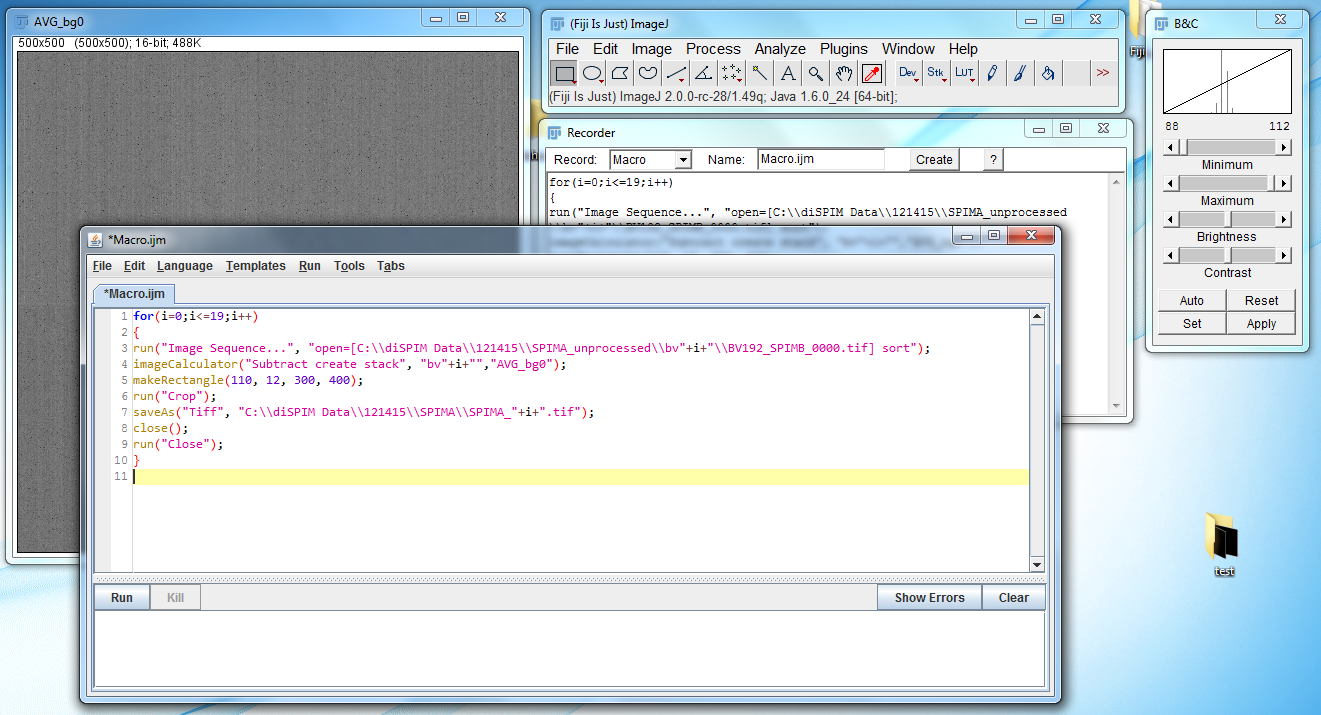
- Use the Polygon select tool to draw a box around the sample. This box will be used to crop the image. While size will vary depending upon the sample, make sure that room is left (perhaps 25 pixels minimum) surrounding the sample in the cropped image in all directions. In this demo I have used a crop size of 300 x 400 pixels.
- Go to File → Save As → Tiff… to save the image. It should be saved in a new folder; conventionally I name this new folder SPIMA or SPIMB depending on which arm the images come from. The image itself is named SPIMA_XX, where XX is the number of the image in the image sequence.
- Close the SPIMA_20 and bv20 images.
- Repeat the process for the SPIMB images. Make sure that the size of the cropped images is the same between SPIMA and SPIMB images.
Once the images have been cropped and background subtracted, they can be registered and deconvolved in MIPAV.
Registration and Joint Decon in MIPAV
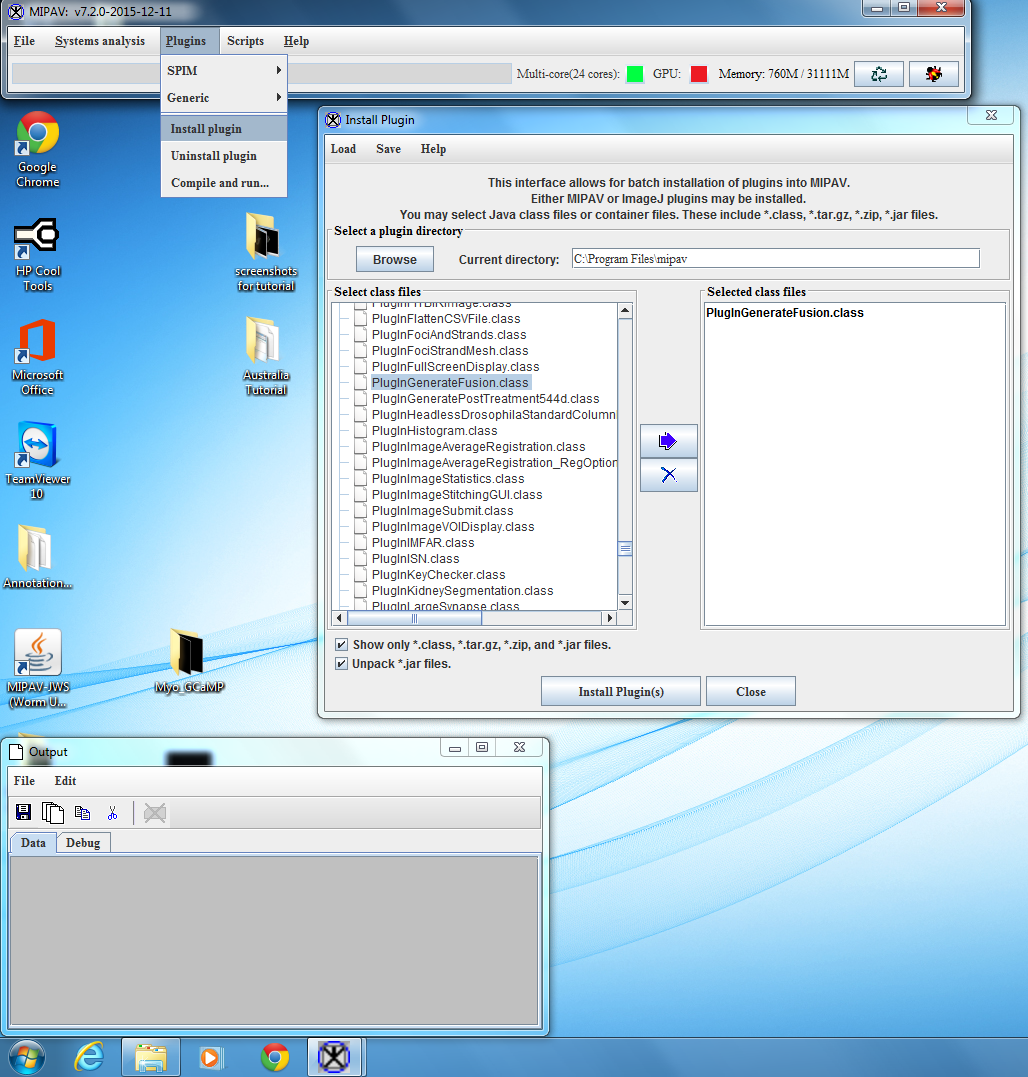
- If not already installed, install the GenerateFusion plugin by going to Plugins → Install plugin. In the Select class files window, select PlugInGenerateFusion.class and move it to the Selected class files window. Click on Install Plugin(s) to install the GenerateFusion plugin. The Install window should appear like:
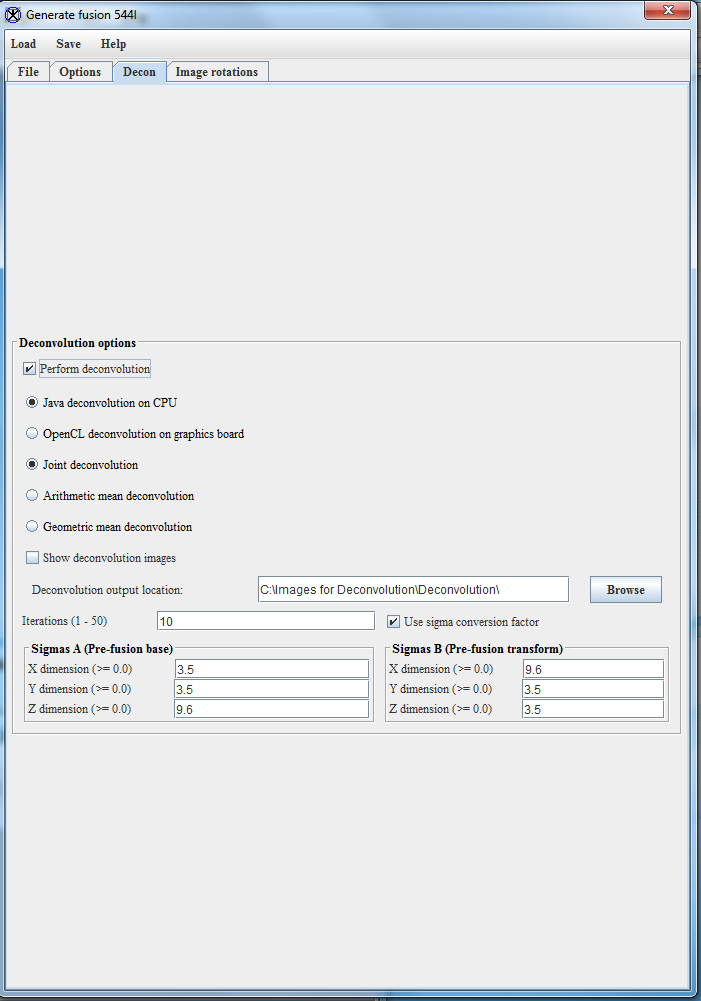
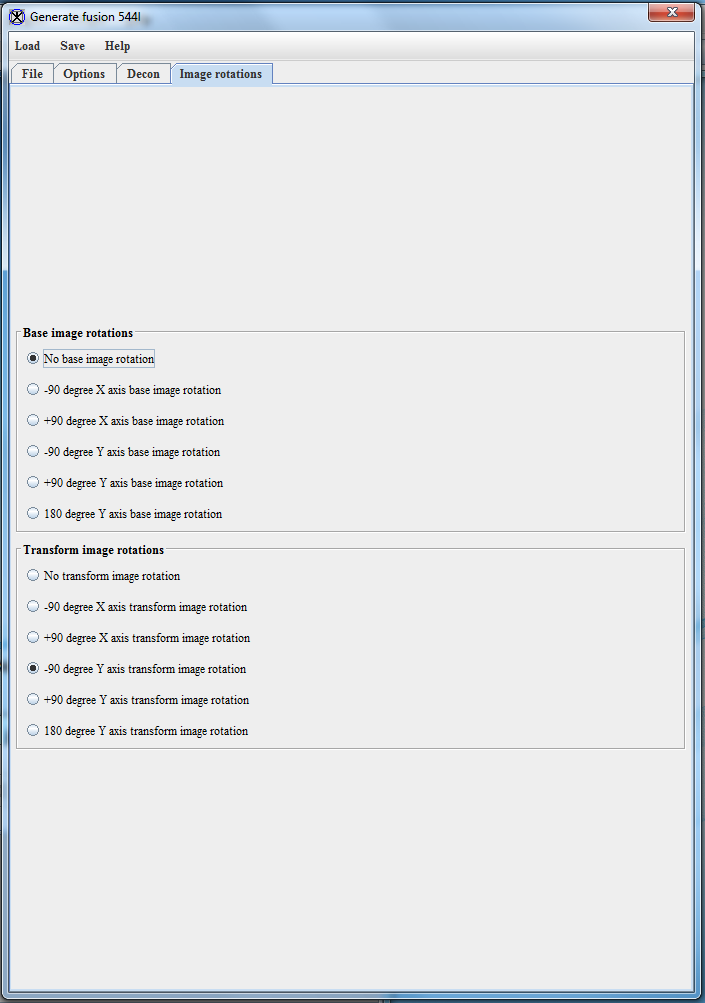
- Go to Plugins → SPIM → Generate Fusion. There are four tabs in the Generate Fusion plugin: File, Options, Decon, and Image Rotations. Settings in the File and Options tab have to be changed, while settings in the Decon and Image Rotations tabs do not.
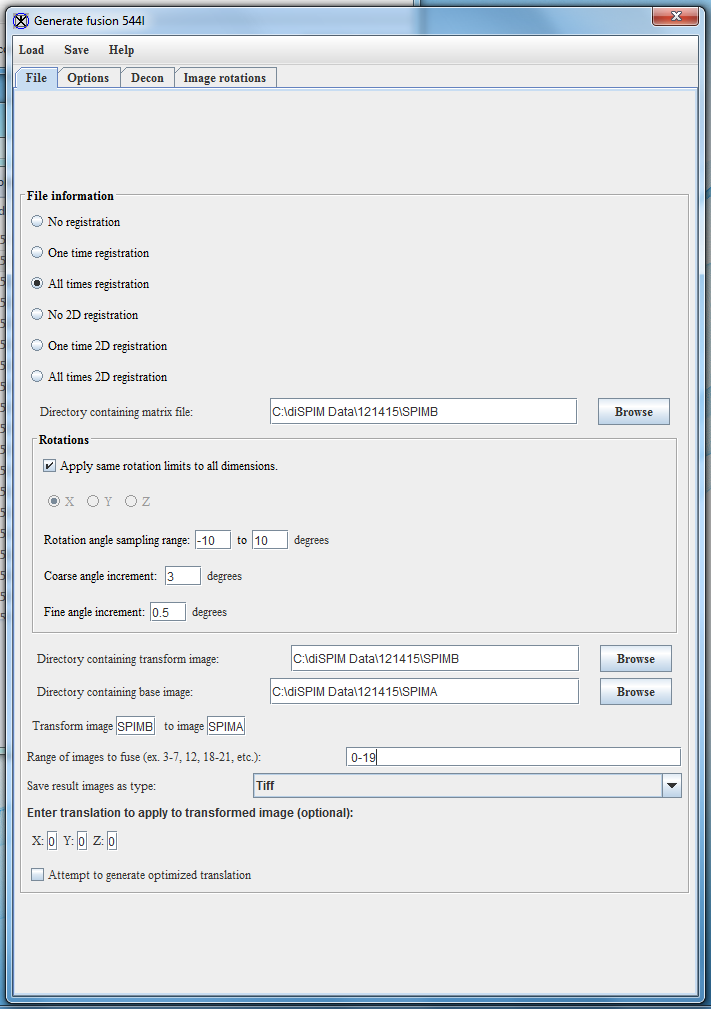
- In the File tab, select the following options:
- Select “All times registration” in the registration options, as this is the most effective option for dealing with sample movement. The No registration requires a preexisting matrix to work from, while the One time registration option does one registration and then applies the matrix generated there to all of the images in the image sequence. These can be faster, but give less accurate results if there is any significant shift in sample position during the imaging session.
- Set the directory that will contain matrix files. Typically I use the SPIMB folder for this.
- For Rotations, check the Apply same rotation limits to all dimensions. Leave the Rotation angle sampling range and Coarse angle increment at their defaults (-10 to 10 degrees and 3 degrees, respectively). Set Fine angle increment to 0.5 degrees.
- Select the directory containing the transformed image. If you are using Labview this is the SPIMB directory, while if you are using Micro-Manager this is the SPIMA directory. (see above note)
- Select the directory containing the base images. If you are using Labview this is the SPIMA directory, while if you are using Micromanager this is the SPIMB directory.
- Set the range of images to fuse. For this example the range of images is 0-3.
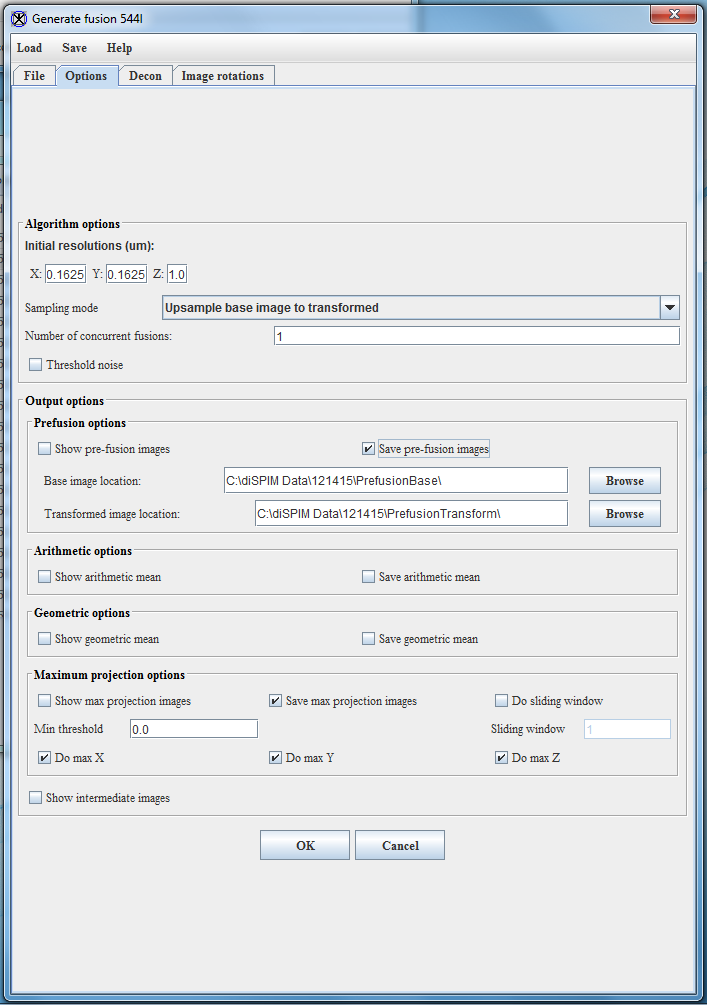
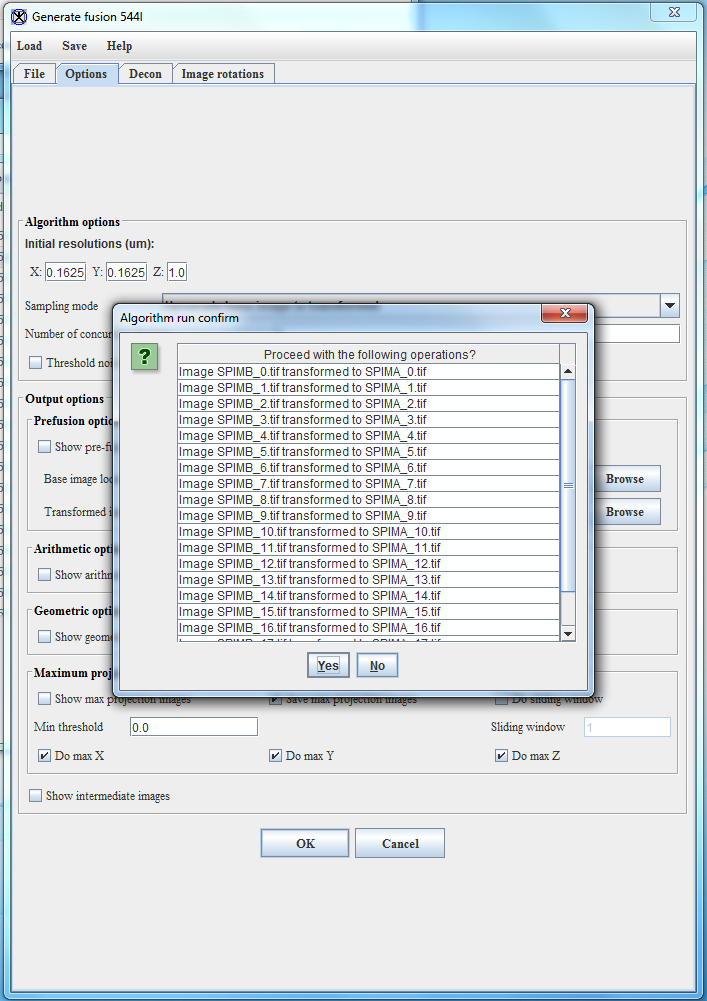
- In the Options tab, select the following options:
- Set the Initial resolutions. For diSPIM images the standard resolutions are 0.1625 for X and Y (6.5 um pixels and 40x objective) and 1.0 for Z. If you are using the stage-scanning mode, the Z-resolution is 0.65. The Z resolution in particular depends on the acquisition settings.
- Set the Sampling mode to Upsample base image to transformed.
- The number of concurrent fusions allows a user to devote multiple cores to the registration and deconvolution process. If the computer only has one core available, set this number to 1. If multiple cores are available, this number can be set higher (though for obvious reasons it can’t exceed the number of cores present in the computer.) I typically use 15 cores out of my 24-core computer, though I note that this selection is fairly arbitrary on my part and could probably be increased.
- For Output options, check Save pre-fusion images and Save max projection images.
- MIPAV will now begin fusion and deconvolution.
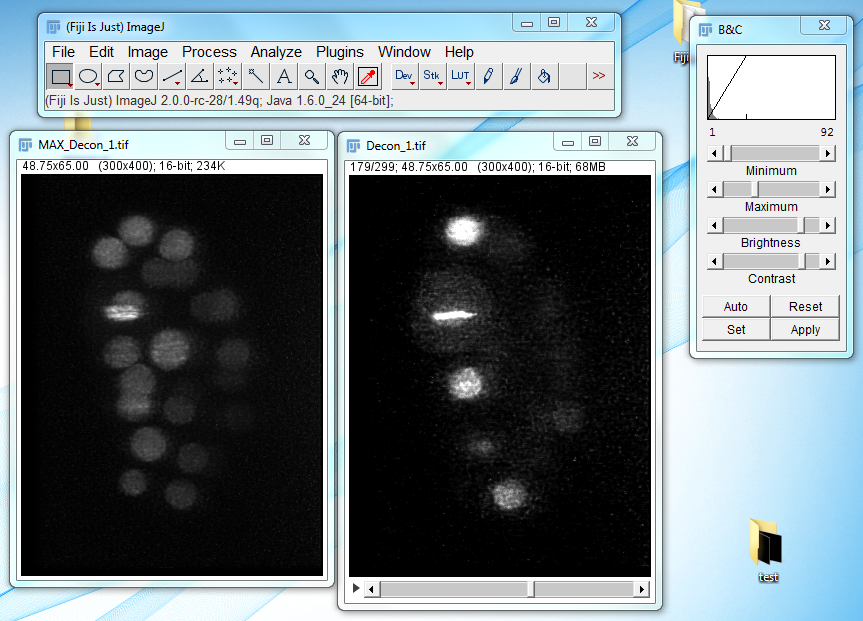
- MIPAV will create several new folders: PrefusionBase, which holds the base images, PrefusionTransform, which holds the transformed images, and Deconvolution, which holds the images created after transformation, fusion, and deconvolution. The deconvolved image of the embryo will look like the following:
